As someone who loves tech, I know how key it is to keep your computer running smoothly. One important thing is making sure your RAM works right. In this guide, I’ll show you how to use the Windows Memory Diagnostic tool. It helps test your RAM and boost your PC’s speed.
Key Takeaways
- The Windows Memory Diagnostic tool is a built-in utility that allows you to test your computer’s RAM for potential issues.
- Regular RAM testing is essential to identify and address problems before they cause system crashes, freezes, or other performance-related issues.
- Common signs of RAM problems include blue screen errors, frequent system crashes, and unexplained performance drops.
- By understanding the diagnostic tool’s error messages and test parameters, you can easily interpret the results and take appropriate action.
- In addition to the built-in tool, there are alternative methods, such as third-party RAM testing software, that can provide a more comprehensive analysis of your system’s memory.
Understanding Windows Memory Diagnostic Tool Basics
Have you heard of the Windows Memory Diagnostic tool? It’s a tool for Windows users to check their RAM. We’ll cover the basics of this tool and why testing RAM often is key.
What is the Windows Memory Diagnostic Tool?
The Windows Memory Diagnostic tool is a built-in tool in Windows 10 and 11. It checks your system’s RAM for problems. It can find issues like faulty RAM that might slow down your computer.
Why Regular RAM Testing is Important
Testing your RAM regularly is vital for your computer’s health. Faulty RAM can cause crashes, freezes, and data loss. Testing early can prevent these problems and keep your computer running smoothly.
Signs of RAM Problems
Knowing the signs of RAM issues is important. Look out for crashes, blue screens, slow performance, and app crashes. If you see these, test your RAM to find and fix the problem.
Understanding the Windows Memory Diagnostic tool and the need for regular RAM tests helps keep your computer running well. Next, we’ll show you how to use this tool to test your RAM.
How to Test Your RAM With Windows Memory Diagnostic
If you use Windows 10 or 11, the Windows Memory Diagnostic tool is a great help. It’s easy to use and can spot memory problems. This ensures your computer runs smoothly and efficiently. Here’s how to test your RAM using Windows Memory Diagnostic effectively.
Accessing the Windows Memory Diagnostic Tool
There are a few ways to get to the Windows Memory Diagnostic tool:
- Press the Windows key + R to open the Run dialog, then type
mdsched.exeand press Enter. - Search for “Windows Memory Diagnostic” in the Start menu or Cortana search bar.
- Right-click on the Start button and select “Run”, then type
mdsched.exeand press Enter.
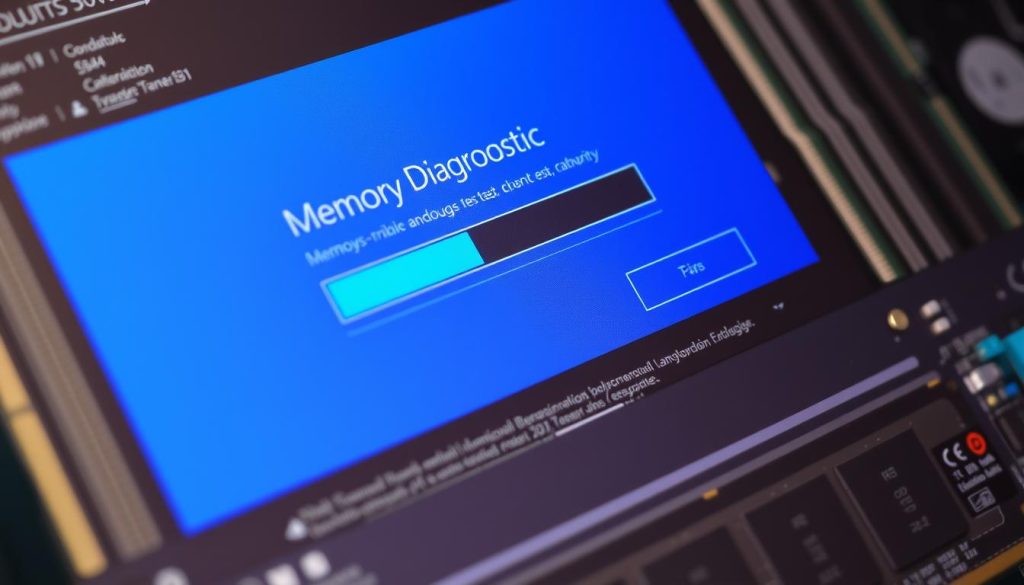
Running the Memory Test
After opening the Windows Memory Diagnostic tool, you’ll see two choices:
- Restart now and check for problems (recommended)
- Check for problems the next time I start my computer
Choosing the first option will restart your computer and start the test. This is the best choice. It lets the tool check your RAM fully without any distractions.
The memory check windows 10 process might take a while. It depends on how much RAM your system has. Just wait for it to finish.

After the test, your computer will restart. Then, you’ll see the results. Look over the information to see if any ram problems were found.
Interpreting Windows Memory Diagnostic Results
Running the windows memory diagnostic tool is the first step to check your computer’s RAM. But, understanding the results can be tricky. Let’s explore what the error messages and test parameters mean. We’ll also talk about what to do if problems are found.
Common Error Messages Explained
The Windows Memory Diagnostic tool finds many RAM issues. Here are some common error messages:
- Hardware memory verification failed – This means your RAM failed basic tests and needs fixing or replacement.
- Memory management error – This could be due to faulty RAM, wrong installation, or software conflicts.
- STOP error (blue screen) – A blue screen during the test shows a serious RAM problem that needs quick action.
Understanding Test Parameters
The memory testing windows 10 tool shows test details. Look at the memory tested, test patterns, and pass/fail status. These details help find the RAM problem’s exact cause.
What to Do if Problems are Found
If the scan memory pc diagnostic finds problems, you need to investigate and fix them. This might mean reseating RAM, updating drivers, or running more memory checker tests. Sometimes, you might need to replace the faulty RAM. If you’re not sure what to do, get professional help.
Understanding the test ram results helps keep your computer’s memory working well. Remember, regular memory testing windows 10 is key. It can prevent expensive hardware problems later.
Alternative Methods for RAM Testing in Windows 10/11
The built-in Windows Memory Diagnostic tool is a solid way to check your RAM. But, there are other methods to ensure your system’s memory is healthy. Let’s look at some of these options and compare them to the Windows tool.
Third-Party RAM Testing Software
Many third-party programs offer detailed RAM testing. MemTest86, HCI MemTest, and Prime95 are favorites among tech experts. These tools give detailed analysis, helping you find specific memory problems. But, they might need more technical skills to use and understand.
Windows Performance Monitor
The Performance Monitor is another Windows tool for testing RAM. It tracks memory counters to show how your system uses memory. It’s not as simple as the Windows Memory Diagnostic, but it’s great for those who want to dig deeper into their system’s performance.
| Method | Pros | Cons |
|---|---|---|
| Windows Memory Diagnostic | Built-in and easy to use Provides basic memory testing | Limited diagnostic capabilities May not detect all memory issues |
| Third-Party RAM Testing Software | More comprehensive testing Able to pinpoint specific memory problems | Requires more technical expertise May not be as user-friendly |
| Windows Performance Monitor | Provides in-depth memory analysis Useful for advanced troubleshooting | Complex to set up and interpret Not a dedicated memory testing tool |
Choosing a RAM testing method depends on your technical skills and how detailed you need the analysis. The Windows Memory Diagnostic is a good first choice for many. But, if you need more detailed checks, consider third-party tools or the Windows Performance Monitor.
Troubleshooting Common RAM Issues and Solutions
I’ve faced many RAM problems over the years. These include memory management errors, blue screen issues, and performance drops. But, with the right ram diagnostic software and techniques, you can fix these issues.
Memory Management Errors
Memory management errors are common. They happen when your system can’t handle RAM well. You might see crashes, freezes, or apps not opening. To fix this, run a detailed memory test tool to find and fix bad RAM.
Blue Screen Errors Related to RAM
Blue screen errors, or “blue screen of death,” often point to RAM issues. They happen when memory doesn’t work right. Use a windows 10 memtest to check ram and find the problem.
Performance Impact of Faulty RAM
Bad RAM can slow down your system a lot. You might see slow loading, lag, or poor performance. A memory tester can spot the issue. Then, you can upgrade or replace RAM to improve performance.
Fixing RAM problems needs a careful plan. Use the right ram diagnostic software and methods. This way, you can solve common RAM issues and keep your system running smoothly.
Conclusion
Regular ram health check and testing with the Windows Memory Diagnostic tool is key. It keeps your system running smoothly and stably. By knowing how to use this tool, we can spot and fix ram health test problems early.
Whether you’re using Windows 10 or Windows 11, checking your RAM is easy. It gives you important info about your computer’s memory health. By understanding the results and acting on them, your system’s windows 11 memory test will improve. This boosts your productivity and makes using your computer better.
Keeping your RAM in good shape is essential for a reliable computer. By following these tips regularly, your system will stay in great condition. You’ll be ready to handle any task with ease. Here’s to a healthy RAM and a top-notch computing experience!
FAQ
What is the Windows Memory Diagnostic Tool?
The Windows Memory Diagnostic Tool is a built-in utility in Windows 10 and 11. It tests your computer’s RAM for issues. It’s great for finding and fixing memory problems.
Why is regular RAM testing important?
Testing RAM regularly ensures your computer’s memory works right. Faulty RAM can lead to crashes, blue screens, and slow performance. Using the Windows Memory Diagnostic Tool can catch and fix these issues early.
What are some common signs of RAM problems?
Signs of RAM problems include frequent crashes, blue screens, and programs freezing. If you see these, running a memory test is a good idea.
How do I run the Windows Memory Diagnostic Tool?
To run the tool, go to the Start menu, Control Panel, or search for “Windows Memory Diagnostic”. Follow the instructions to start the test.
How do I interpret the results of the Windows Memory Diagnostic Tool?
The tool will show a report on your RAM’s status. If it’s good, the report will say your memory is fine. If there are problems, it will give error messages and details.
What should I do if the Windows Memory Diagnostic Tool finds problems with my RAM?
If the test finds RAM issues, you might need to take extra steps. This could mean reseating the memory, updating your BIOS, or replacing the RAM.
Are there any alternative methods for testing my RAM in Windows 10/11?
Yes, there are other ways to test RAM in Windows 10 and 11. You can use third-party software or Windows tools like the Memory Diagnostic Tool. Each has its own benefits and drawbacks, so you might want to try a few to see what works best for you.